|
BUILDING A WHEEL FROM
SCRATCH
|
This example shows how
to build a typical 48 spoke 4-cross wheel, but the instructions would be
much the same for a 36 spoke wheel or a different crossing pattern.
Read all the
instructions before starting out, and heed the warning about spoke
tension.... |
 |
Special thanks must go out to G-Sport,
who provided the words and images that you will be reading below.
This is the best tutorial we have seen and you should take some time to check
their products out. |
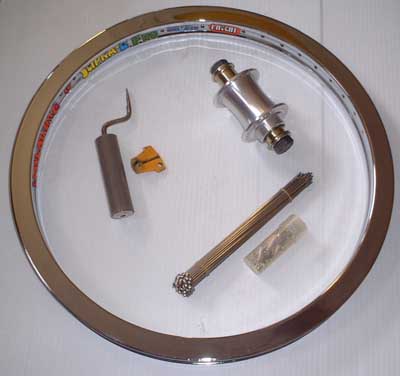 |
TOOLS
REQUIRED
Okay, fairly
obviously you are going to need; a rim, some spokes (of the
right length), spoke nipples, your hub, and a spoke wrench..
To get the spokes going around the
rim you may choose to use an offset slotted screwdriver or a
cordless screwdriver.
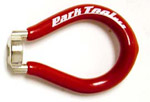
Spoke Wrench
|
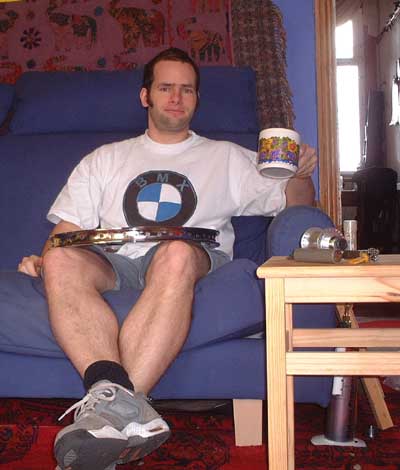
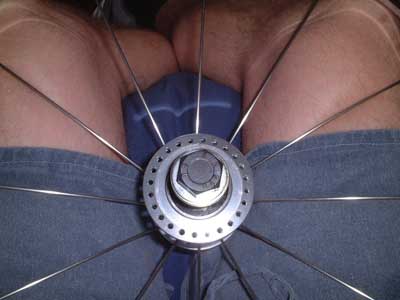
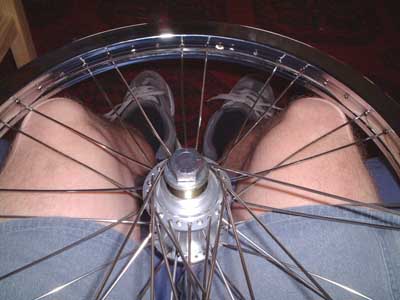
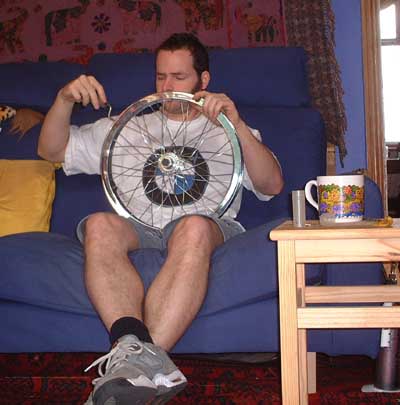
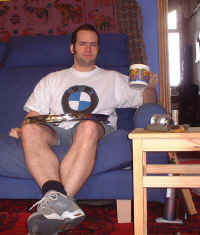
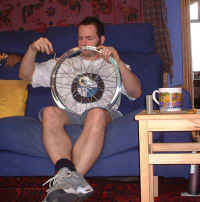
Now get comfy,
with all the required tools and parts within reach. It is also a good idea to have a
big mug of tea and some tunes playing at this point because you need to be relaxed and
happy to stay in the chair for a while.
Here you can also see that I need
a haircut and a shave and YES, there is a blow torch next to the
sofa.
It takes upwards of a couple of hours typically to build a wheel
properly. The first time you build a wheel it may take
four or five hours even if you don't have any problems. Of
course, the more wheels you build the faster you will get at it. |
 |
 |
Alright, enough
banter, down to work.
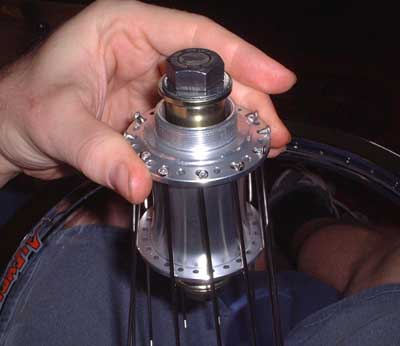
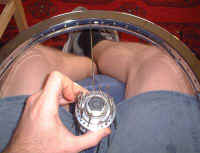
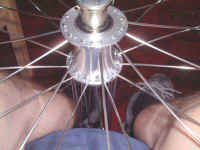
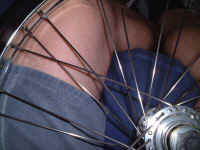
Pick up your hub and slide a spoke
through every alternate hole in the top flange.
These are called "IN
BOUND" spokes and have their heads on the outside of the
hub, they have to be fed in towards the center of the hub, hence
the name.
It does not matter which side of
the hub you begin to lace first. |
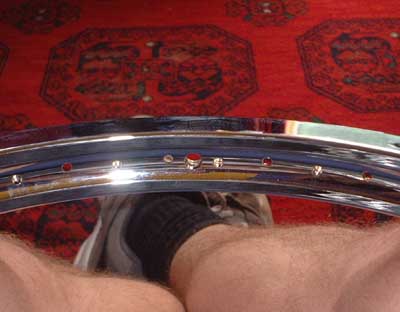
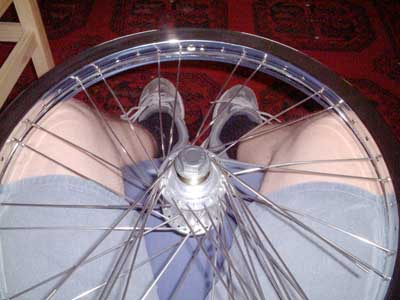
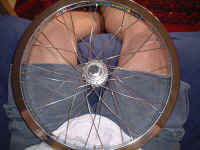
Lay the rim on
your lap with the valve hole directly opposite you.
It is very important to get the
orientation correct at this point or you may mess the whole wheel
up.
Notice that the spoke holes are
offset slightly in the picture. The holes will feed to the
flanges of the hub on the same sides of the wheel. |
 |
 |
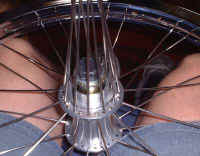
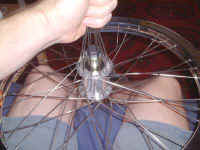
So, in goes
the first spoke. Notice that the hub is still the same way up as
in the picture above with the flange with the spokes at the top.
We take a spoke and put it into the hole nearest the valve hole
WHICH IS ORIENTATED TOWARDS THE SAME SIDE OF THE WHEEL. This is
very important so take the time to be sure you understand it.
Screw a nipple onto the end of the
spoke enough to be sure it isn't going to fall off - about four
turns should do the trick. If you want you can put a little drop of oil on
first to make it run smooth but keep the oil off the sofa. |
| We carry on
with this set of spokes putting them in every fourth hole. Note
that all of these spokes should be offset towards this side of
the wheel. Have a good look at it before you go any further and
check they are evenly spaced. |
 |
 |
Turn the wheel
over.
Notice how the spoke holes in the
top flange DO NOT line up with the spoke holes in the flange
below. |
| Looking down
from the top you can see the offset more clearly, in a minute we
are going to put some more "in-bound" spokes in this
flange but they need to be oriented correctly. |
 |
 |
Because we
have turned the wheel over the first of the previous sets of
spokes is now to the right of the valve hole. This next spoke
needs to go away from the valve hole so it starts just to the
right of the spoke below. The following pictures should make it
clear but be sure to get it right. |
| Okay, you
should be able to see it here clear enough. The only spoke in the
top flange so far is immediately to the right of the first spoke
we put in the first flange. It lies away from the valve
hole... |
 |
 |
Looking from
above you can see it more clearly, though the valve hole is now
hard to see. Note that the newest spoke does NOT cross any
others. |
| Once you are
absolutely certain that you have this right you can continue to
put the rest of this set of spokes in. Again they go in every
other hole and each one lies next to the one from the first
flange. With all of them offset the same way. |
 |
 |
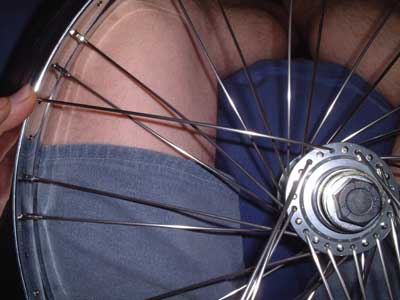
This picture
isn't very clear, but hopefully you can see that I have now
inserted the first set of "OUT BOUND" spokes. These
can (just about) be seen hanging from the bottom flange. They
were dropped in with the wheel the same way up as before and now
we will turn the wheel over... |
| This shot
makes it a bit clearer. |
 |
 |
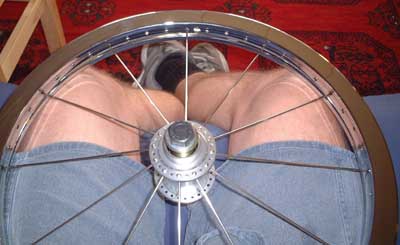
Whizzing along
now, we have switched the wheel back over and all the spokes are
held up to stop them falling back through the holes...
But now comes the tricky bit... We
need to "twist" the hub to make the spokes we have
installed lie more tangentially to the hub.
This can be quite hard and needs to
be done in the right direction.
We want the spokes to sweep away
from the valve hole (to make connecting a pump easier) so in
this case we need to rotate the hub counter-clockwise relative to
the rim. |
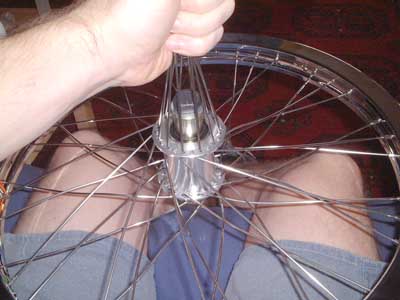
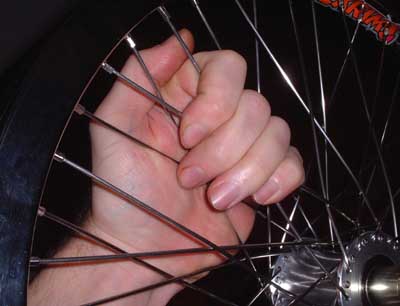
| To help rotate
the hub you can grab a handful of the loose spokes but if you
are installing on a freewheel hub, beware
that you don't damage the freewheel threads by levering the
spokes against them... |
 |
 |
With the hub
rotated you can see that the spokes now come away from the
flanges at the familiar angle. Again notice that the spokes
angle AWAY from the valve hole to make it easier to attach the
pump... |
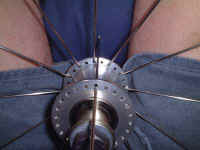
With the hub
twisted and the next set of spokes ready to go in we can look at
the pattern.
This pattern is referred to as
4-cross. This means that each spoke crosses four others that
come from the same flange.
If you look at the picture you can
see that this first spoke will cross one spoke with the flange
still in-between.
To further enhance the ability of
the wheel to resist grind impacts etc I will be building this
wheel "interlaced under the third".
Normally wheels are built
interlaced under the fourth. So if you look at the spoke that I
am holding it would go under the fourth (last) spoke it crosses.
Instead I will be "weaving" this spoke under the third
crossing and then over the fourth. |
 |
 |
To get this
spoke under the third it needs a bit of bending, but this is not
a problem, just try to avoid kinking it. |
| As you can see
the spoke straightens back out fine, thread a nipple on the end
of the spoke and get on with the other eleven... |
 |
 |
All of these
are now in. The last one is always a bit tricky and the
interlacing makes them bow out a bit, but this will all come
together when we tension it. |
Last set have
been dropped in, then the wheel flipped over and we are in a
familiar position.
We just repeat the last few steps
as before, remembering to interlace each spoke. |
 |
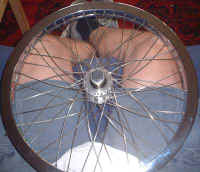 |
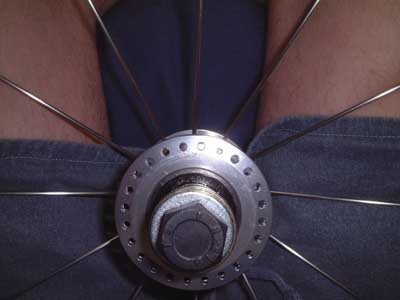
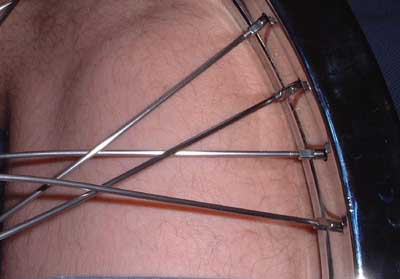
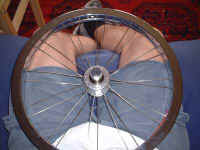
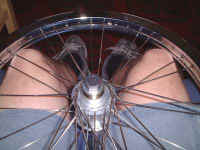
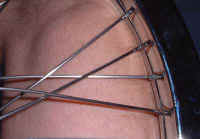
All the spokes
are in. They should all be nice and loose at this stage. The
valve hole should be sitting in one of the more open gaps. |
Here is a
close up of a typical group.
Notice the even spacing and
arrangement of 'X's if it doesn't look like this something is
wrong.
Also notice the visible thread
below each nipple, there is still plenty of slack in the wheel
at this stage. |
 |
 |
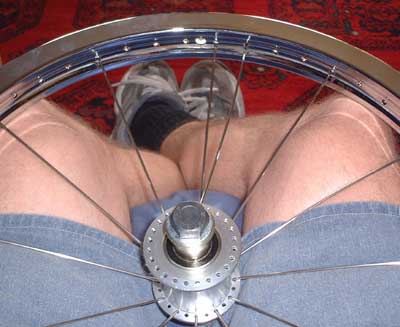
Time to start
putting some tension into the wheel. Notice the wheel is held
sideways. This is so that if a spoke should break it will fly
harmlessly out to the side and not through my head.
I also have a nice fresh cup of
tea.
Start at the valve hole and work
your way round the wheel, we want to get all the spokes to a
similar position and screw them all up evenly so I start by
tightening each spoke until the last of the thread is just about
to disappear into the nipple.
If the spoke length is correct
this should still leave the wheel quite loose. If it feels like
the spokes are tightening up then STOP. |
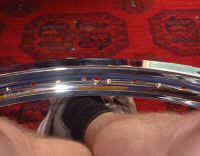
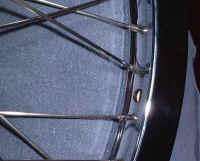
Here you can
see the clearance round the valve hole and the thread on the
spokes just disappearing into the nipples. The wheel is still
loose at this stage, but we can be pretty sure that it is even.
We will now work our way round the
rim from the valve counting the number of turns we put on each
spoke.
I usually start with five turns
per spoke. By the time I get back to the valve hole the wheel is
starting to stiffen up but all the spokes are still far from
tight. This is how you want it. If the wheel is starting to gain
ANY real tension on this first pass then go back and undo all
the spokes back to the valve hole by the same amount that you
have just tightened them and start over only tightening four
turns - or three. |
 |
 |
In this photo
I have been round once and put a few turns on each spoke. They
all started from the same point and have had the same number of
turns but some stick up more than others!
If you look closely you can just
make out that the bottom nipple in the picture is much higher
than the others.
Don't worry, this will work itself
out.
Do NOT be tempted to add extra
turns to any of then spokes or you will fuck it all up.
As the spokes come tight you
should put less and less turns on the spokes on each go round
the wheel. BUT ALWAYS TURN EACH SPOKE THE SAME AMOUNT!
If you set off round the wheel
adding 1 turn to each spoke then each and EVERY spoke MUST
get a full turn. If they are getting to tight then you need to
undo them the last set of turns back to the valve hole and start
again with less turns.
Slowly does it is the way. |
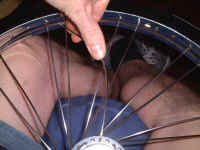
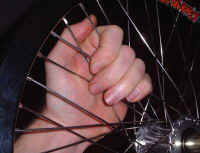
By the time
you start to get some tension coming into the spokes you should
have gone around the wheel a few times adding just a single turn each time.
Don't try to rush it now.
Once the spokes start to tighten
up you will been to help them settle in.
After each round of turns, go
round the wheel squeezing the spokes together as shown in this
shot. You will feel it give slightly and maybe make an odd
creaking or pinging noise.
The wheel should slowly come tight
and should require next to no truing if you have done it
correctly.
By now you should have a lovely
tight wheel, true it in the normal way and go ride!
|
 |
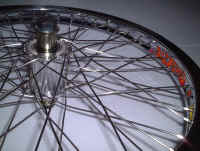
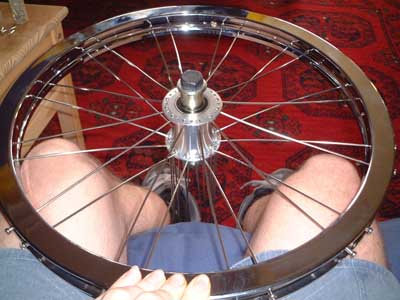
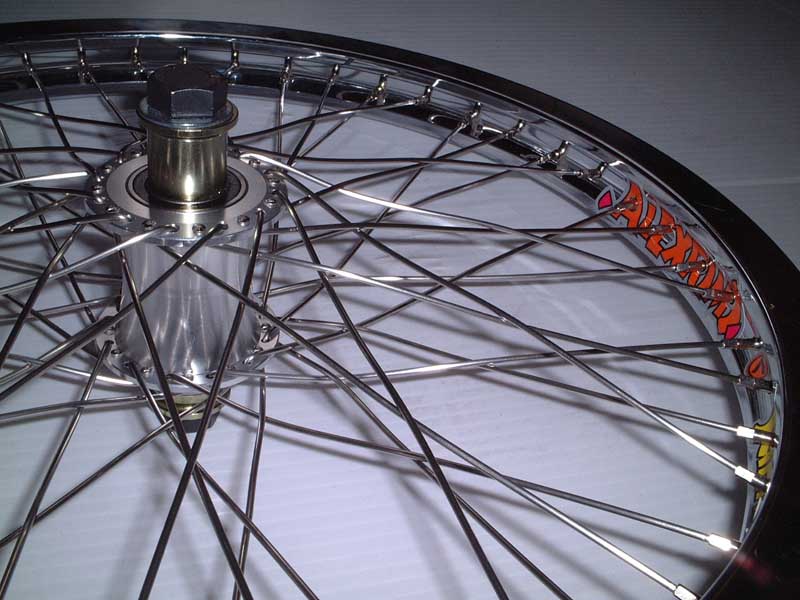
Here you can see the finished wheel,
look closely and you can see the effect of interlacing under the third,
all the spokes "weave" in and out more than normal and this
will help protect the wheel more on grinds.
|
|